
Why Perform the Service Light Reset?
- Reminder Function: The service light illuminates as a signal from the vehicle’s built-in computer, reminding you that motorcycle maintenance is needed.
- Avoid Distractions: If not cleared in time, the service light will stay on, potentially affecting your mood and judgment while driving.
- Track Maintenance Cycle: After resetting, the vehicle will start counting the next maintenance cycle, making it easier for you to keep track of maintenance schedules.
Common Motorcycle Service Light Reset Methods
Friendly Reminder: The method may vary slightly depending on the brand and model. For specific steps, please refer to the user manual or consult after-sales service. Below are the common methods:
1. Reset Using the Dashboard Button
Most motorcycles can reset the service light using the SET/RESET button on the dashboard.
Steps:
a. Turn the ignition switch to the "ON" position, but do not start the engine.
b. Press and hold the SET or RESET button (some models may require pressing both buttons simultaneously).
c. Wait for the screen to display the "Service Reset" prompt or for it to blink.
d. Release the button to confirm the reset is complete.
2. Reset via the Odometer/Menu System
Some high-end models (such as BMW, Ducati, Triumph, etc.) are equipped with multifunctional LCD screens.
Steps:
a. Turn on the ignition switch.
b. Use the directional or menu buttons to navigate to the Vehicle settings → Service/Maintenance → Reset.
c. Follow the prompts to confirm the reset.
3. Using Diagnostic Tools (OBD/Specific Devices)
If the dashboard does not support manual resetting, you’ll need to use specialized diagnostic equipment:
- Connect the motorcycle to an OBD Diagnostic Motorcycle tool or a manufacturer-specific computer.
- Select "Service Reset" in the diagnostic software.
- Perform the reset operation.
This method is common for imported or models with complex electronic systems.
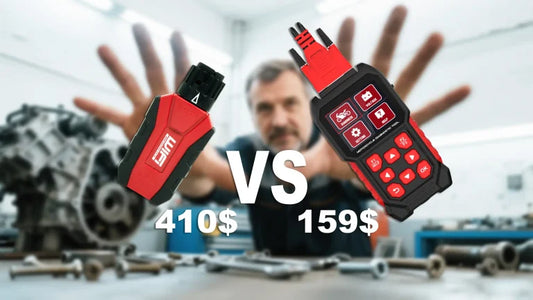
For example, the latest FXTUL M7 motorcycle diagnostic tool supports this feature. This device supports 76 brands and offers lifetime free upgrades, making it an excellent choice for DIY users and repair shops with a variety of motorcycle types.
Contact Us Now to Get a Discount:
WhatsApp: +86 18926477404
Email: shop@autooltech.com
4. Example: Harley Davidson Maintenance Service Light Reset
- Turn off the ignition switch and keep the motorcycle stationary.
- Press and hold the trip reset button.
- This button is usually located at the lower left of the odometer.
- Keep holding the button while turning the ignition switch to the "ON" position (do not start the engine).
- The dashboard will enter diagnostic mode (DIAG).
- Press the button multiple times to cycle through the following options:
-
P(ECM/PCM) -
S(Speedometer) -
SP(Tachometer/Instruments) -
b(ABS) -
d(Instrument Diagnostics/Service) - When "CLR" or "Clear" appears, press and hold the button to confirm the reset.
- The dashboard will return to normal, the service light will turn off, and the reset is complete.
Important Notes
- Ensure Maintenance is Complete: Don’t reset the service light just to turn it off. Make sure to complete the necessary maintenance tasks first.
- Refer to the Manual: The reset procedure may vary for different brands (Honda, Yamaha, Kawasaki, Harley, etc.).
- Keep a Record: It’s recommended to record the date and mileage after each maintenance. Even if the service light has been reset, it will make it easier for future reference.